Hello, Heather here, the FAB PDX 3d Artist and Designer.
I’ve been with the FAB since mid-April and have enjoyed my time here greatly. I get a lot of questions about how I do things, and what methods I use when creating the 3d images we show our clients, so here is a brief summary.
To begin with, my modeling task starts when Emily tells me that a client has expressed a need for some custom fabrication with basic ideas or specs. In one case, for example, the client wanted a table with three chairs that fit in an exact measurement of space, but she didn’t know specifically what she wanted it to look like, what to be made out of, etc. Usually I will sketch up a few ideas on paper, and show them to Brian and Emily to get some feedback. They both will offer opinions as to which piece would look and work the best, and sometimes offer design suggestions of their own.
Other times, a client may know what they want, but they may be unsure about committing to the project because of the cost investment. After we show them a nice 3d model, it is at that point a lot easier for the client to picture the project, and they feel more confident about their decision to move forward.
There are also times when Brian has thought of a great idea, and brings it to me sketched out on paper, with exact measurements written on the design.
At this point, I’m ready to start modeling.
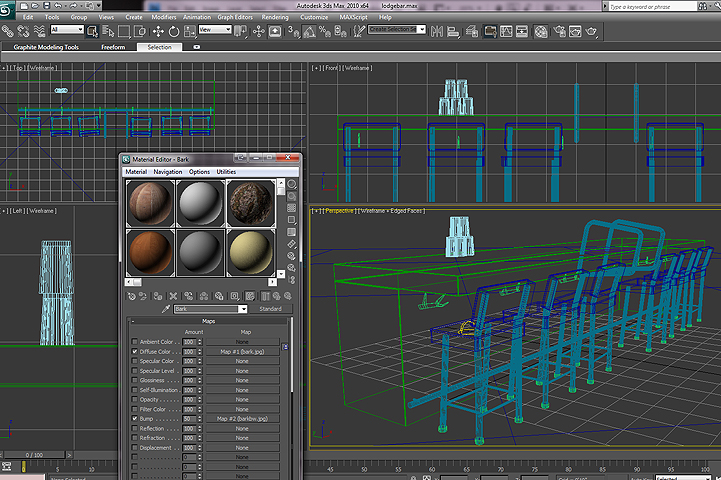
After firing up 3d Studio Max, I usually start with a simple box or cylinder, using real-world measurements for accuracy. Once it is the required size, I convert it into an editable poly and go about molding the box into the form we have designed. The modeling process itself doesn’t take me very long to do, but there is still texturing, lighting, and rendering left.
The texturing process can be fun, but also tedious; the textures have to line up correctly on all sides, so as not to cause a visual weirdness, and the images also have to be properly scaled. I have a 512×512 pixel tilable texture of an oak grain that works well on small pieces of wood, but if I were to apply it to something larger, like the surface of a table, even if it were tiled at a high number the viewer would still be able to notice that it isn’t as visually interesting as the surface of a real slab of oak.
All of my textures are created by me, using Photoshop and photos of wood we have available at the shop or photos from our photographer, Mercy McNab.
I will spend as much time as needed adjusting the lights and render output so that the image we show our client is as aesthetically pleasing on their computer monitor as it will be in real life. The last model I completed had a few glasses in the scene for reference, and to make them look realistic as possible I had to assign just the right material to the glasses and the proper renderer to really pull it off. The scene caustics after I added the glasses made the render time go from one minute per frame before, to around twenty minutes after.
Render times can get kind of crazy sometimes. I was once rendering an animation of a simulated walk-through of a trade show booth I had designed and found that I had to find the perfect balance of realism within a scene without extending the render time so that it didn’t take literal weeks to render the three minute animation. I mostly cut reflections from the glass (but still kept the surface shiny so that you could tell what it was) but really liked the way the shadows looked at a certain setting, so the shortest amount of render time on that animation project was 25 hours. That’s 25 hours of my computer rendering, while I can do little else on the machine, so sometimes I have to render in stages, overnight, or over the weekend.
So that’s it, I hope this blog entry has been as fun to read as it was to type !

